
28 Images and Files
Pressbooks allows you to upload and insert many different types of files and media into your book. When uploading media into Pressbooks, note the following:
- The maximum file size that you can upload in the Sask Polytechnic Pressbooks instance is 48 MB. (Note that this upload-size limit is different from the import-size limit, which is much larger.)
- To give a reader access to a file without leaving Pressbooks, then upload the file to the Media Library before inserting it into the book. The file cannot be embedded into the book by linking to an external source.
- Embedded images must be one of the following: JPG, PNG, or GIF.
- File types that will not embed—such as PDFs, Word files, or PowerPoint slides—can still be provided. Instead of using an embedded image, readers can download these file types from the book through a hyperlink.
- If you plan on adding media to your book, an easy way to make sure you can include media into chapters as you write is to upload them to the media Library in advance. You can access the Library and upload attachments by clicking Media in the left sidebar menu, or by clicking Add Media in any chapter’s editing interface.
- To upload attachments to your Media Library, click Add New, found either in the left-hand side bar below Media or with the red button within the Media Library. You can either click to select specific files or drag and drop to upload them to your Library.Selecting any media in your Library allows you to add important details as well as editing them. Clicking on an image will bring up the Details menu. The right side of the Attachment details menu includes fillable fields to include more information about the media. This includes a title, caption, and description field.
When you’re ready to add an image to your book, put your mouse cursor where you want the image to go in the editing interface, hit the “Add Media” button, and select the image you want from the Media Library tab. To add the image to your chapter, click the “Insert into chapter” button.
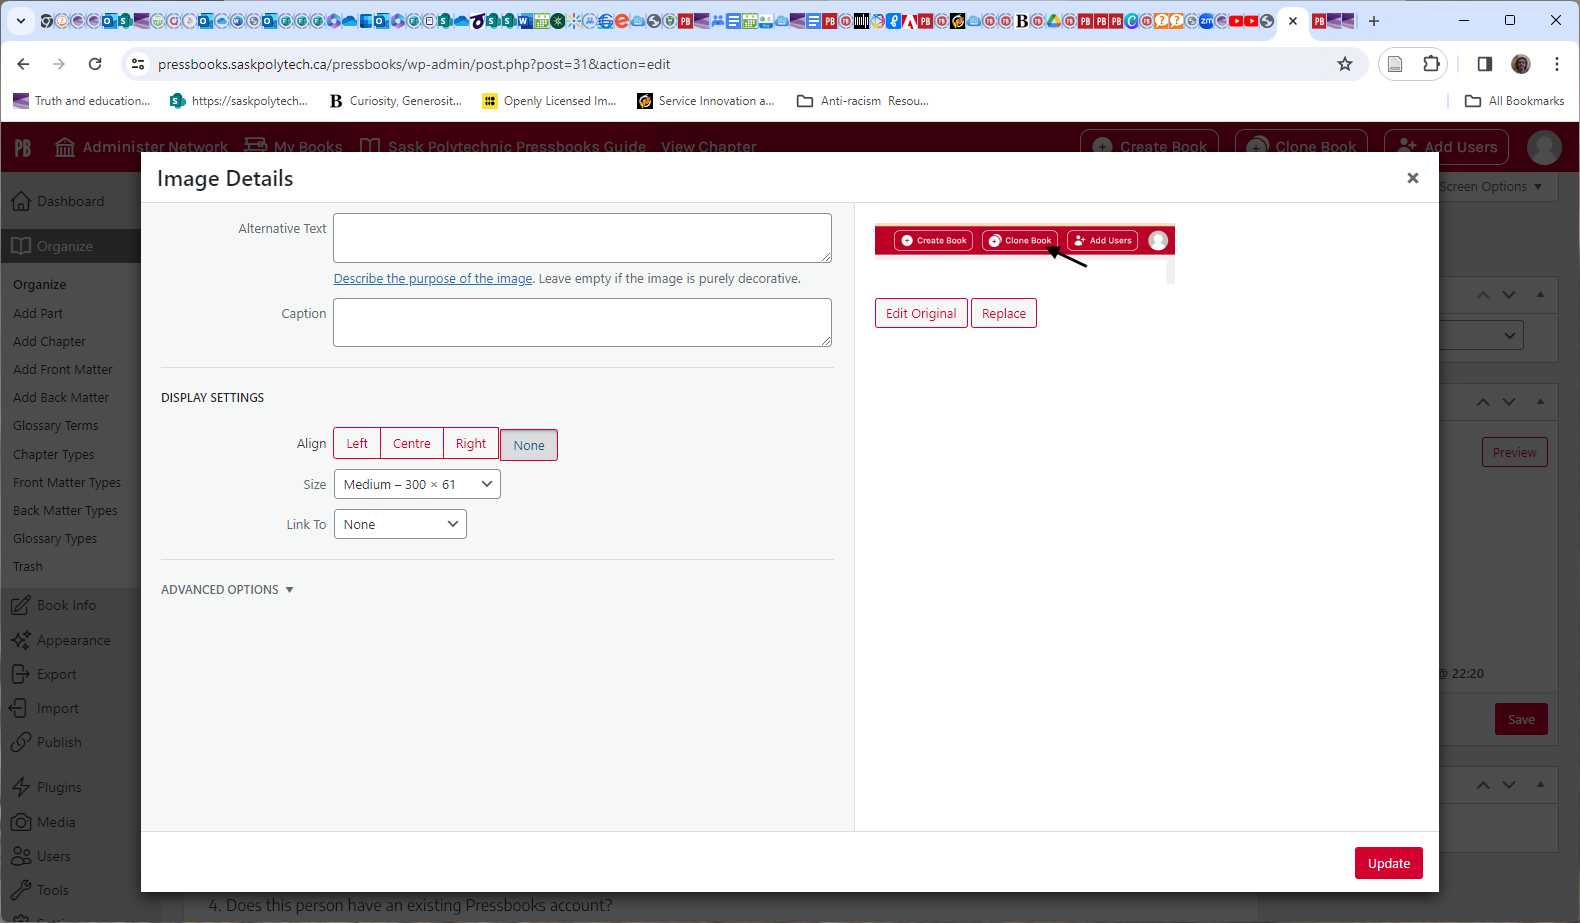
- By default, media added to your book will appear in a smaller, medium-sized format. To resize your image, click on it and select the pencil icon, and then select the image size you want from the Display settings dropdown. From this menu you can edit the caption, alt text, and image size. Select Large to make you image as large as possible. You can drag the image down to a smaller size later if necessary.
| See the following chapters in the Pressbooks User Guide: |
Optimize images for web and print
If your goal is to produce a book for both web and print delivery, image set up and placement must be considered. It is recommended that all images are centred and that image size is no more than 500 pixels wide and 600 pixels high.
Using a larger image can potentially push it to another page in the PDF—sometimes several pages away from its webbook position. One solution for this problem is to add page breaks to key spots in the book.
| See Create Section and Page Breaks in PDF Exports in the Pressbooks User Guide. |
Some authors choose to create a separate version, PDF, or other file type or different system such as InDesign, for print so that text and image layout for the web version can be more creative without having to take into account constraints needed for print.
Image attributions
| See Adding details to your media in the Pressbooks User Guide. |
Image captions
Upload files to a book
In a book, you can link to files hosted the Pressbooks Media Library so people reading the book can access those files. This feature may be useful if you want to share files that will not display directly in Pressbooks, like PDFs, Excel spreadsheets, or PowerPoint slides.
To add a link to a file in a book in Pressbooks, follow the following steps:
- Click “Add Media” at the top of the Visual Editor in Pressbooks.
- Select the Upload Files tab and select the file you want to upload.
- Click “Insert into chapter.”
- The link text can be editted, as is typical with any hyperlink.
https://video.bccampus.ca/id/0_o43ki8kd?width=608&height=402&playerId=23448552
https://video.bccampus.ca/id/0_r5osz367?width=608&height=402&playerId=23448552
https://video.bccampus.ca/id/0_5f2373f9?width=608&height=402&playerId=23448552
https://video.bccampus.ca/id/0_h5b85jwp?width=608&height=402&playerId=23448552
